
First steps with Binabo
13.01.2025
For us, Binabo is first and foremost an open-ended construction toy that allows children to play freely and express their creativity without any instructions! However, especially in educational institutions such as kindergartens and schools, educators and teachers often ask for a guide to make it easier to get started. In this article, we will show you how to get started with Binabo and provide valuable tips and specific instructions for young Binabo beginners. Let's take our first steps into the fascinating world of Binabo together!

1. first steps with Binabo
There is a simple basic rule when playing with Binabo: the components are always clicked together from above.
It is helpful to demonstrate this once - insert the “nose” of the chip from above and then press it together. It is not necessary to insert both noses at the same time; it is easier to click them in one after the other, which children usually do automatically.
With a new playset, the first click can be a little more difficult, but this becomes easier once the parts have been disassembled and reassembled a few times.
To disassemble, simply press in the opposite direction!
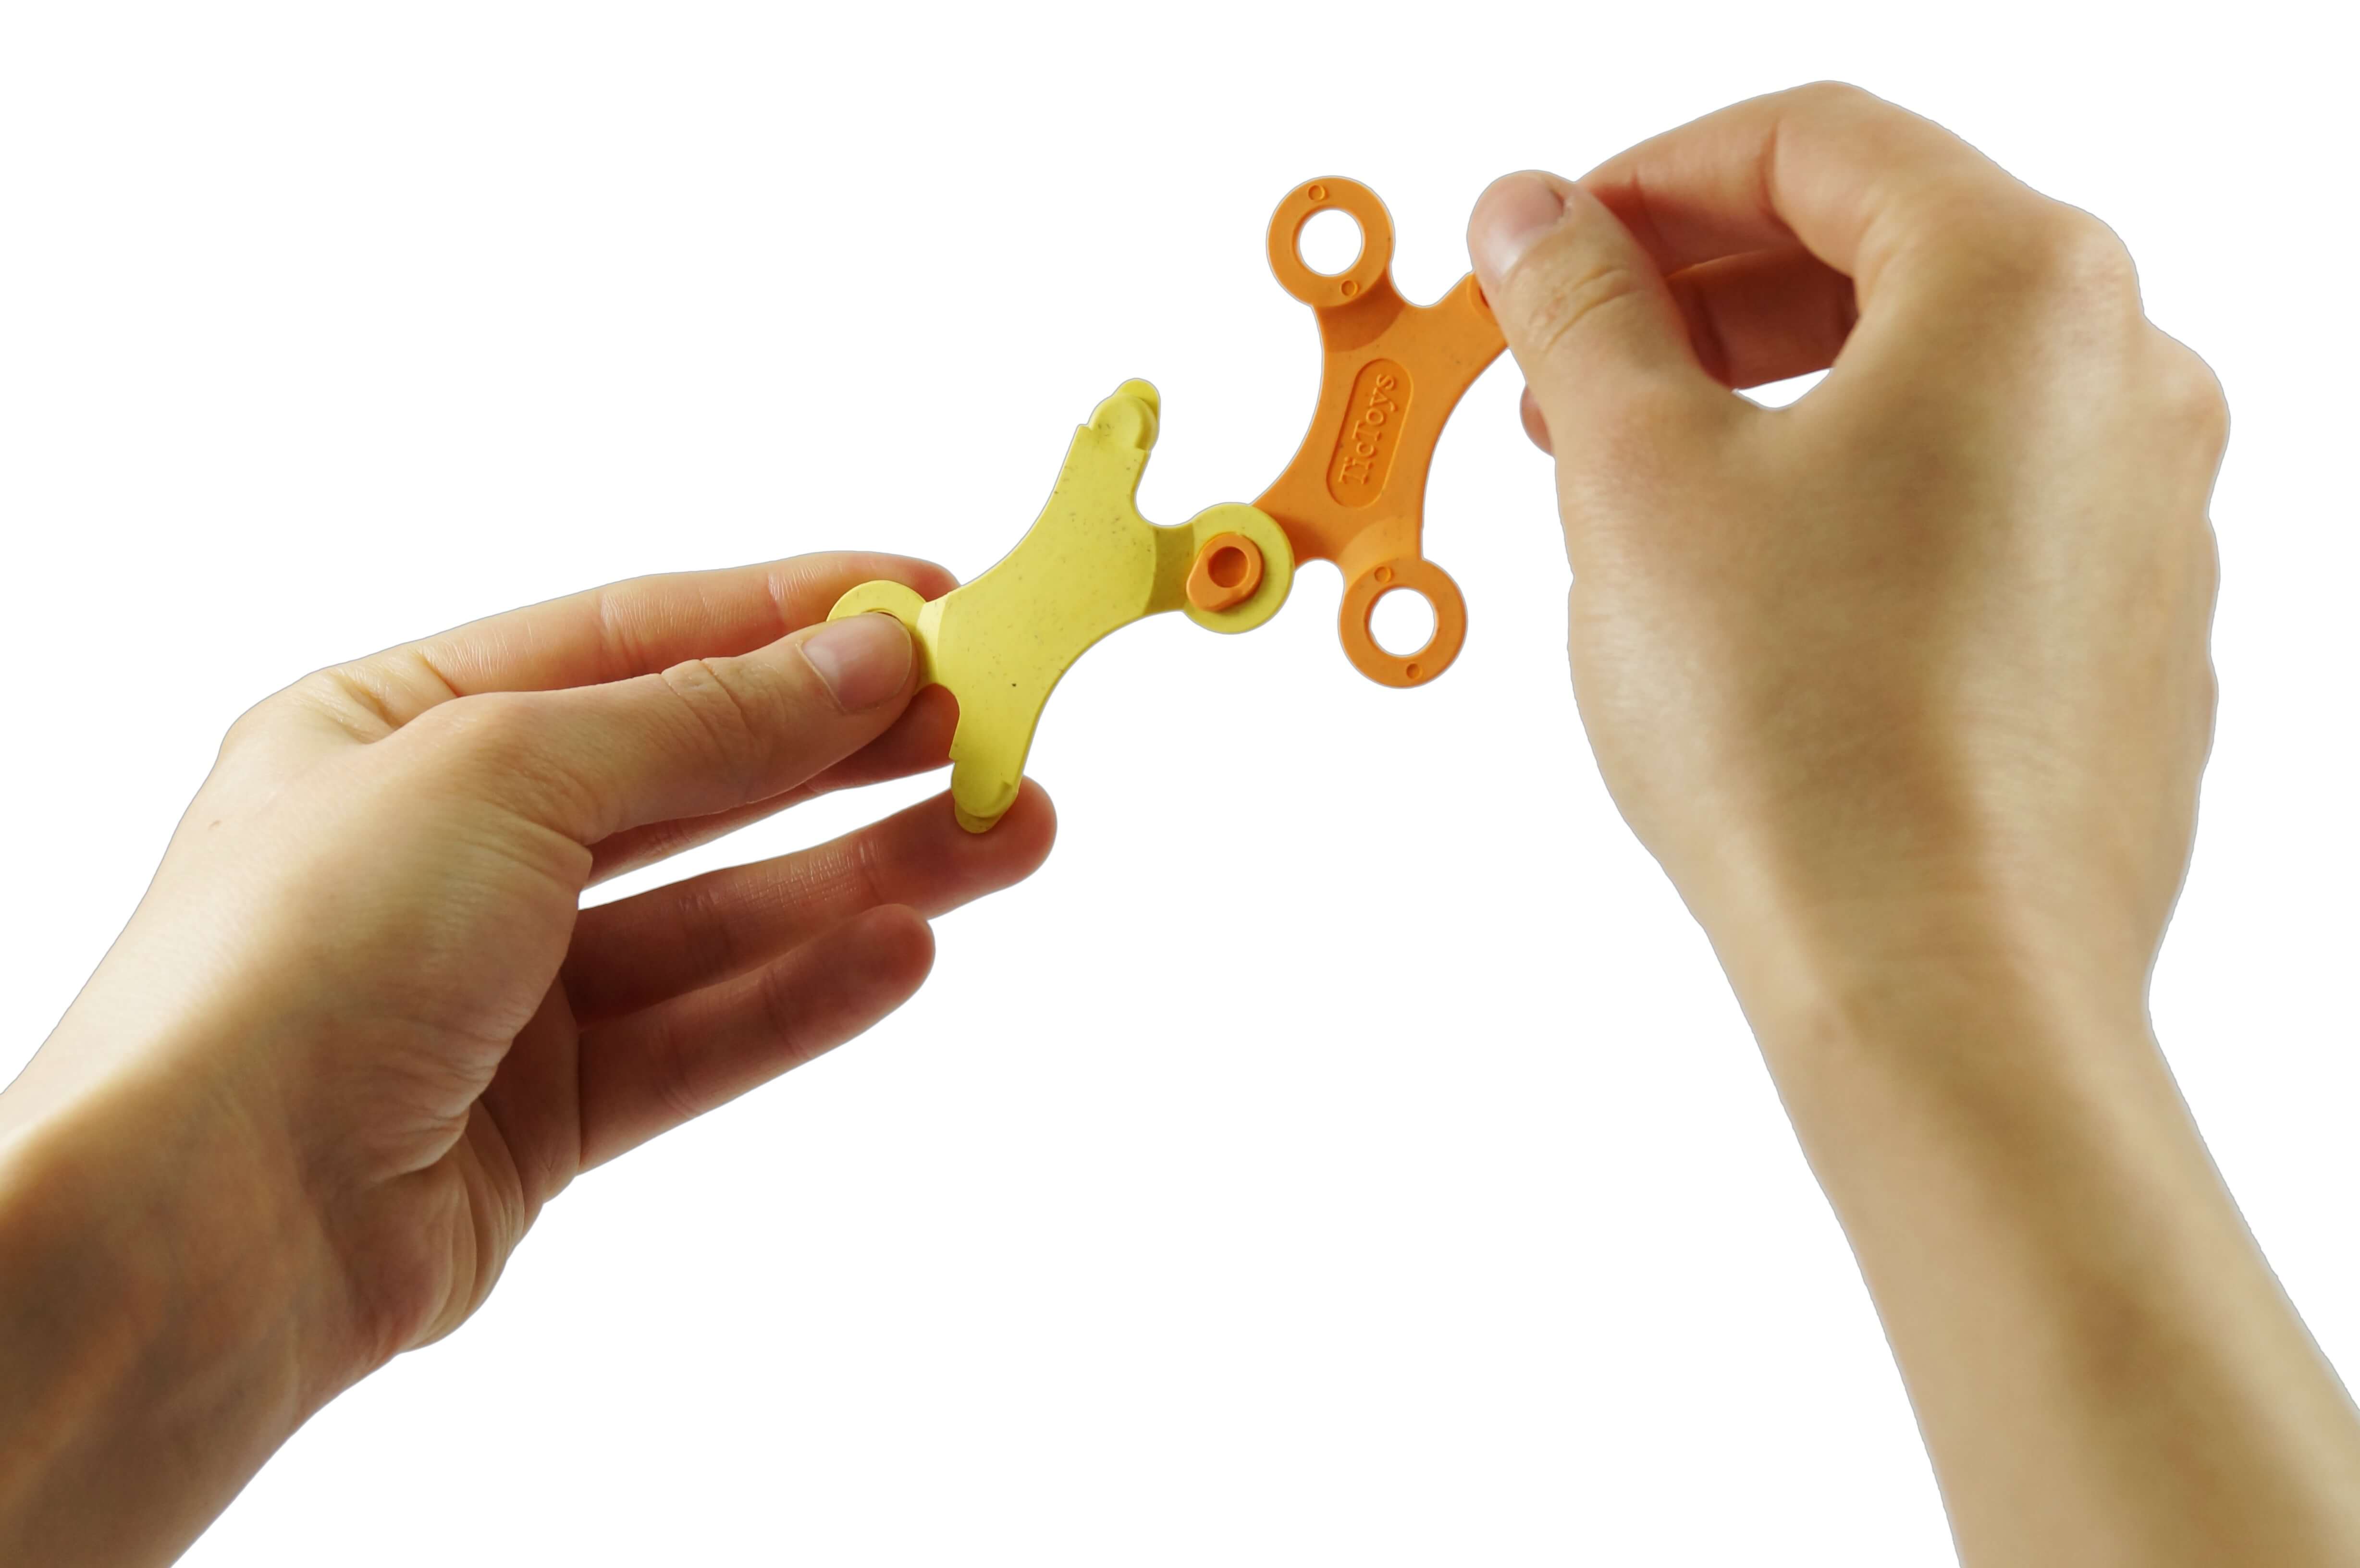
Small children often don't care whether the bricks are put together in the same direction. They often simply put the bricks in the other way around. The motto here is: 'Let them play!
This is not 'wrong', but simply another creative variation that is also used in many more complex Binabo constructions.
2. chains and circles
Have you assembled the first two parts? Then why don't you continue and build a Binabo chain? Who can construct the longest “snake”?

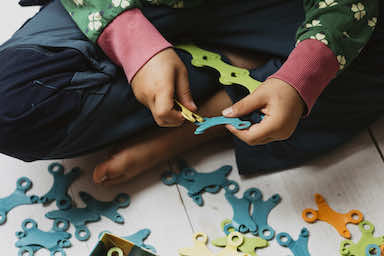
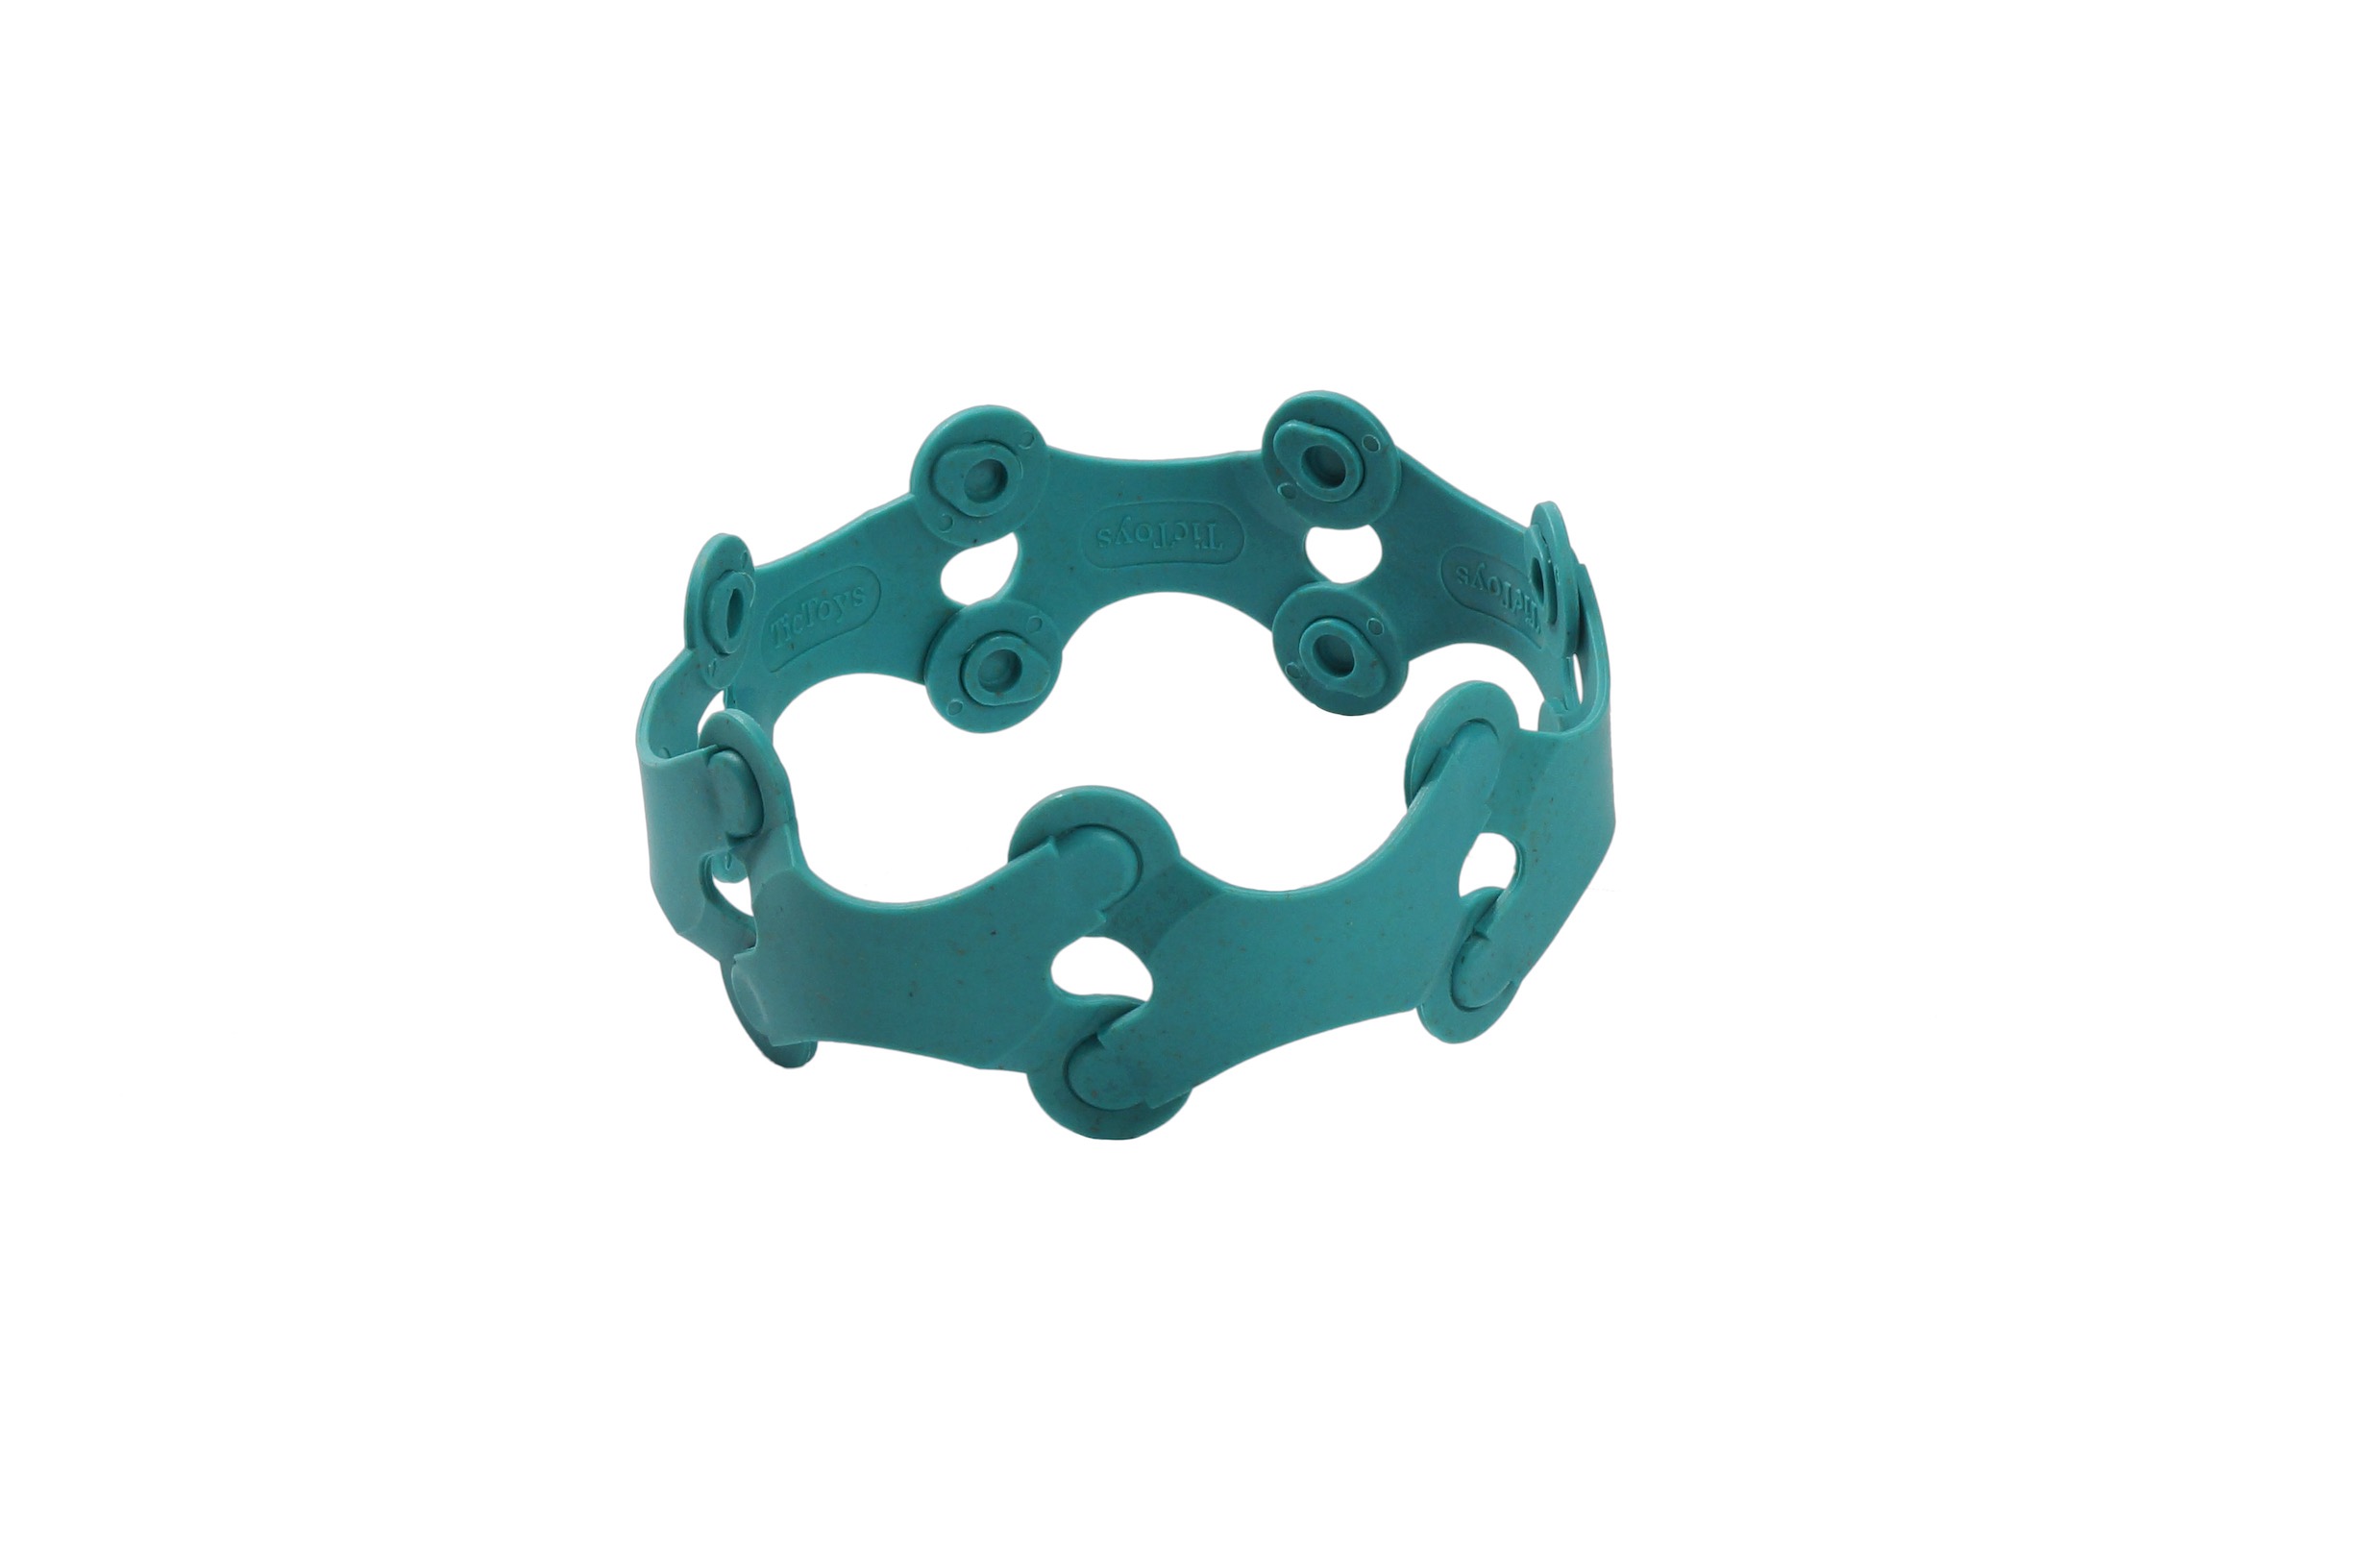
In the next step, you can now bend the chains you have made and join the two ends together. Depending on the length of the chains, you can make bracelets (5-6 chips), headbands (10-12 chips) or a fence for your farm!

3. the third dimension
Have you successfully built chains and tires? Then let's open up the third dimension together! Just try building three Binabo chips together instead of two...

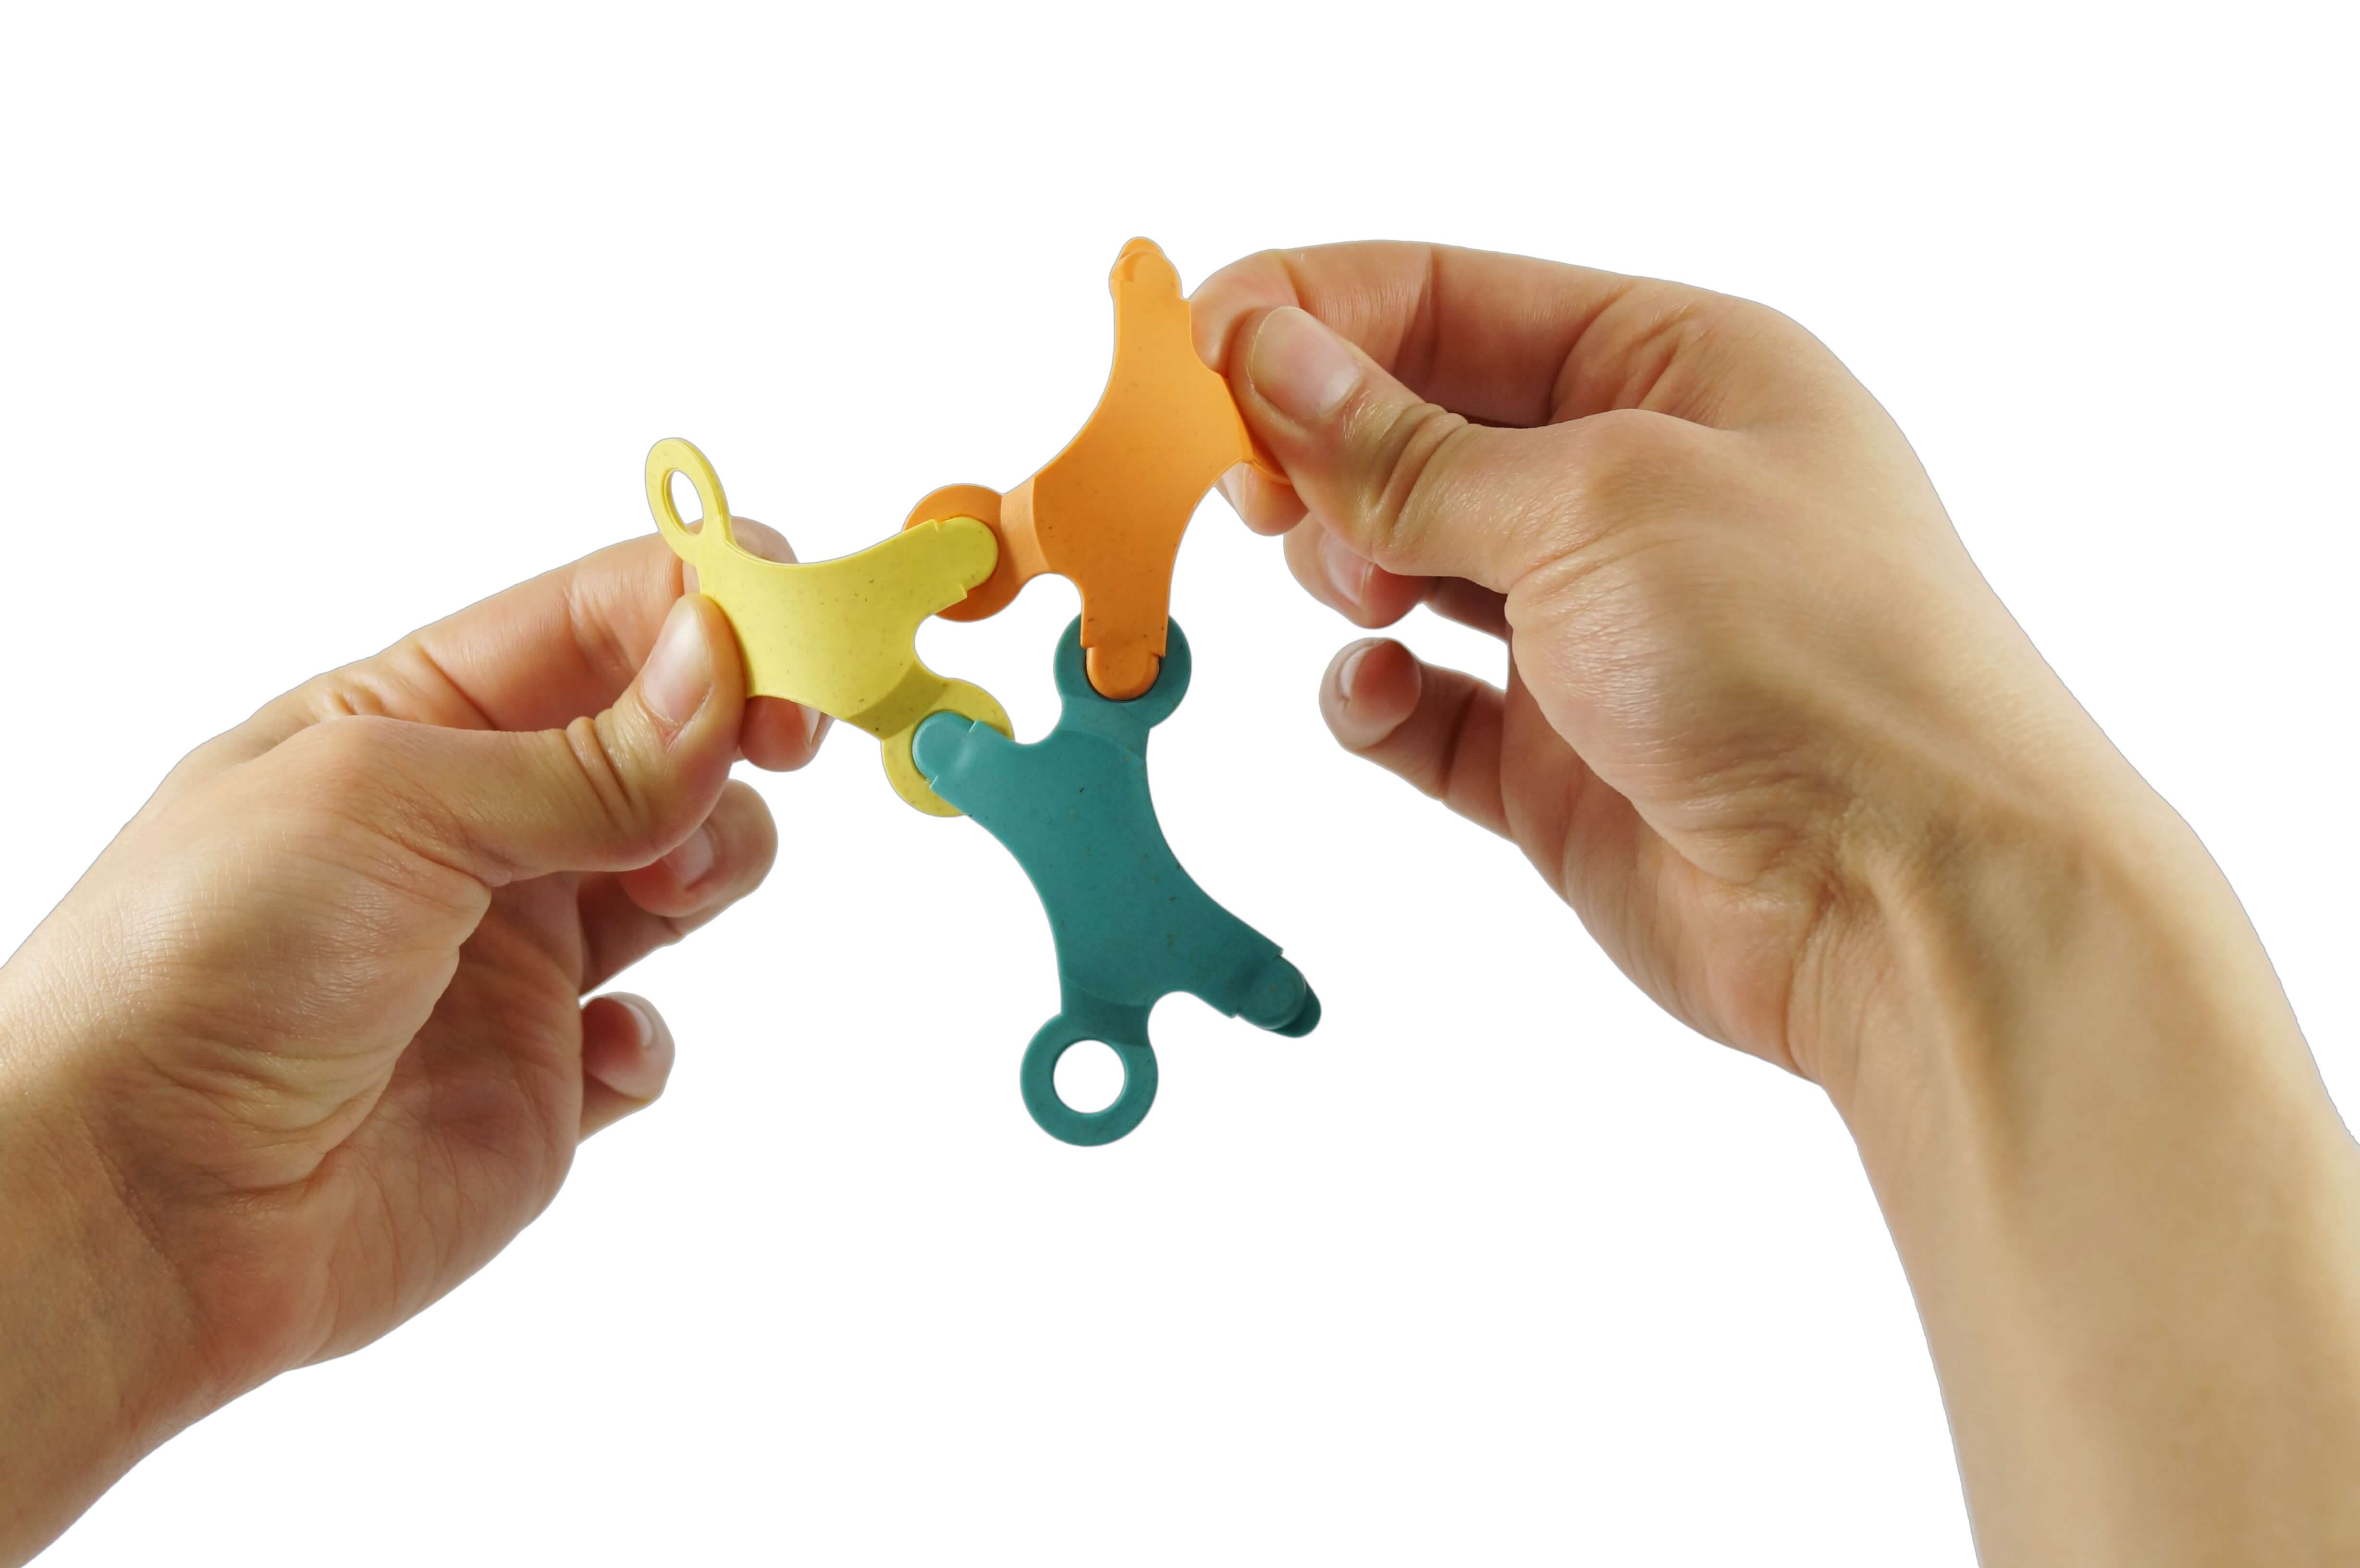
The combination of three opens up a whole host of new possibilities. For example, you can turn your hair bands into real hats or an alien hat with an antenna!


4. stars
Stars are particularly suitable for a better understanding of the Binabo geometries. These can be made in countless variations, and you can find lots of decoration ideas in our Christmas tutorial, for example. Here we present a few simple star examples that even small children can make!

You can build your first Binabo star from just 5 pieces by simply connecting the ends as shown. Is the star too small for you? No problem, now you can simply extend the ends as you wish!
By the way: This version of the star is also the starting position for the popular 30-piece freestyle football...

5. folding mechanism
Children will be fascinated by the Binabo folding mechanism, which is created when you combine four components! When you push one side apart, the other folds together automatically!
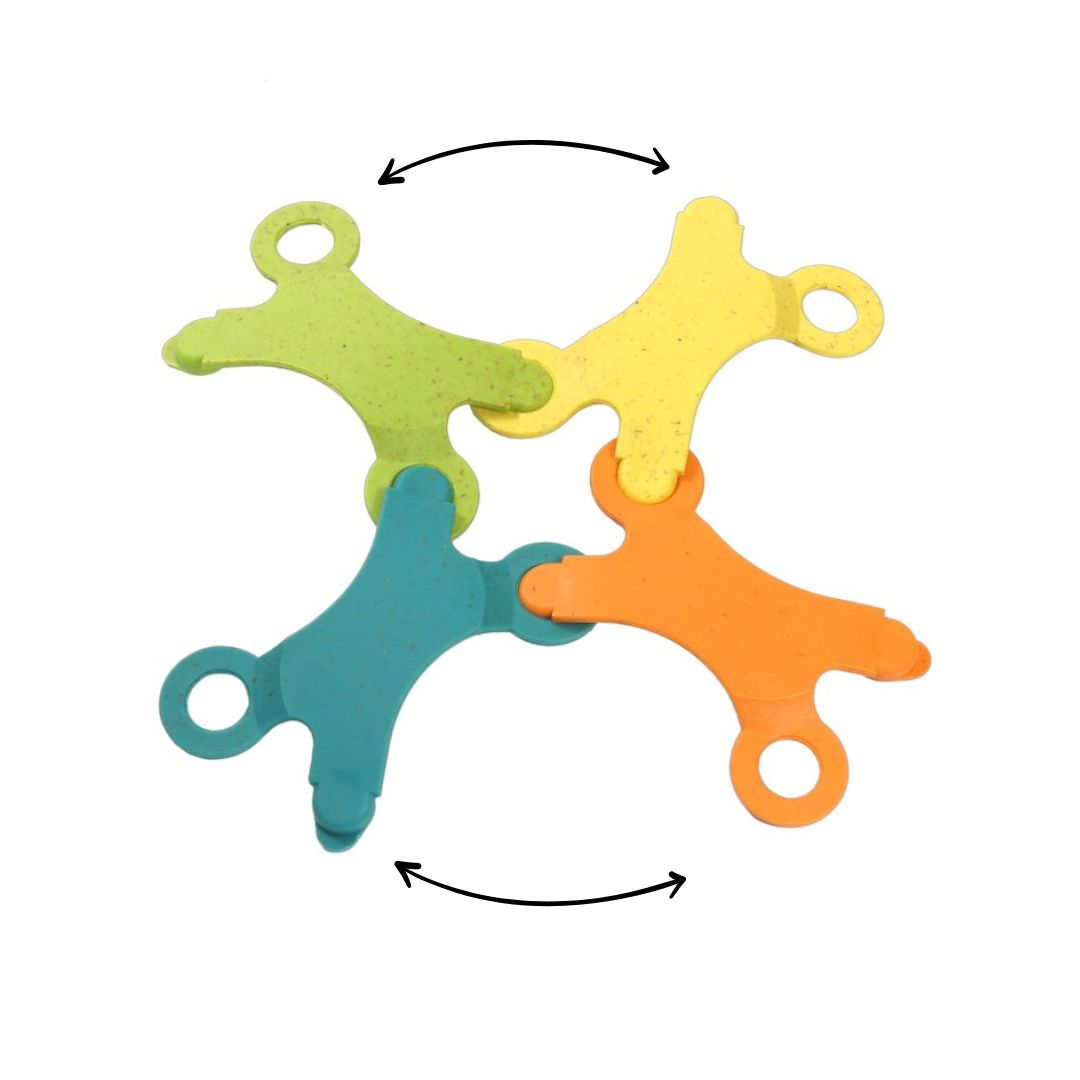
This folding mechanism can be used in many different ways. If you extend the ends of this combination of four, you get a pair of scissors or a small crane. Our “large” Binabo crane also works with the same mechanism!
6. first “real” Binabo figure: the butterfly
Have you tried your hand so far, mastered chains, rings and various combinations? Then it's time for your first “real” Binabo tutorial! Build your Binabo butterfly!

First you build the various individual parts, which you then connect together on the back. If you still find this difficult, your parents or teachers can certainly help you!

Now you are real Binabo master builders! Keep clicking through the tutorials and discover simple and more complex structures to recreate. Or you can simply get started yourself - we hope you have lots of fun!

Comments (0)